什么是滑块逆向
滑块是用于区分正常流量和机器人,OCR只用于识别文字,而不能解决滑块
用selenium当然也可以模拟滑块滑动,但是滑块实际上也是一种网络请求,因此滑动也可以理解为一种网络请求,原理是js的动作捕捉
当用户按下鼠标的时候,实际上触发了mouse down的js事件,弹起鼠标的时候触发了mouse up的事件
鼠标拖动的时候会有x和y的坐标系,x和y以及时间会形成一个动作序列,动作序列会发送到后台,后端对动作序列进行校验,来判断这个序列是不是真人
破解滑块的第一步是把图片弄到,一般后端返回的是切片乱序的图片,第二步需要进行还原,而且还原逻辑在js前端肯定有,可以python还原或者扣js还原,最后再识别图片的缺口,计算出要滑动多少的距离,得到动作序列,把动作序列加密之后才能发送到后端
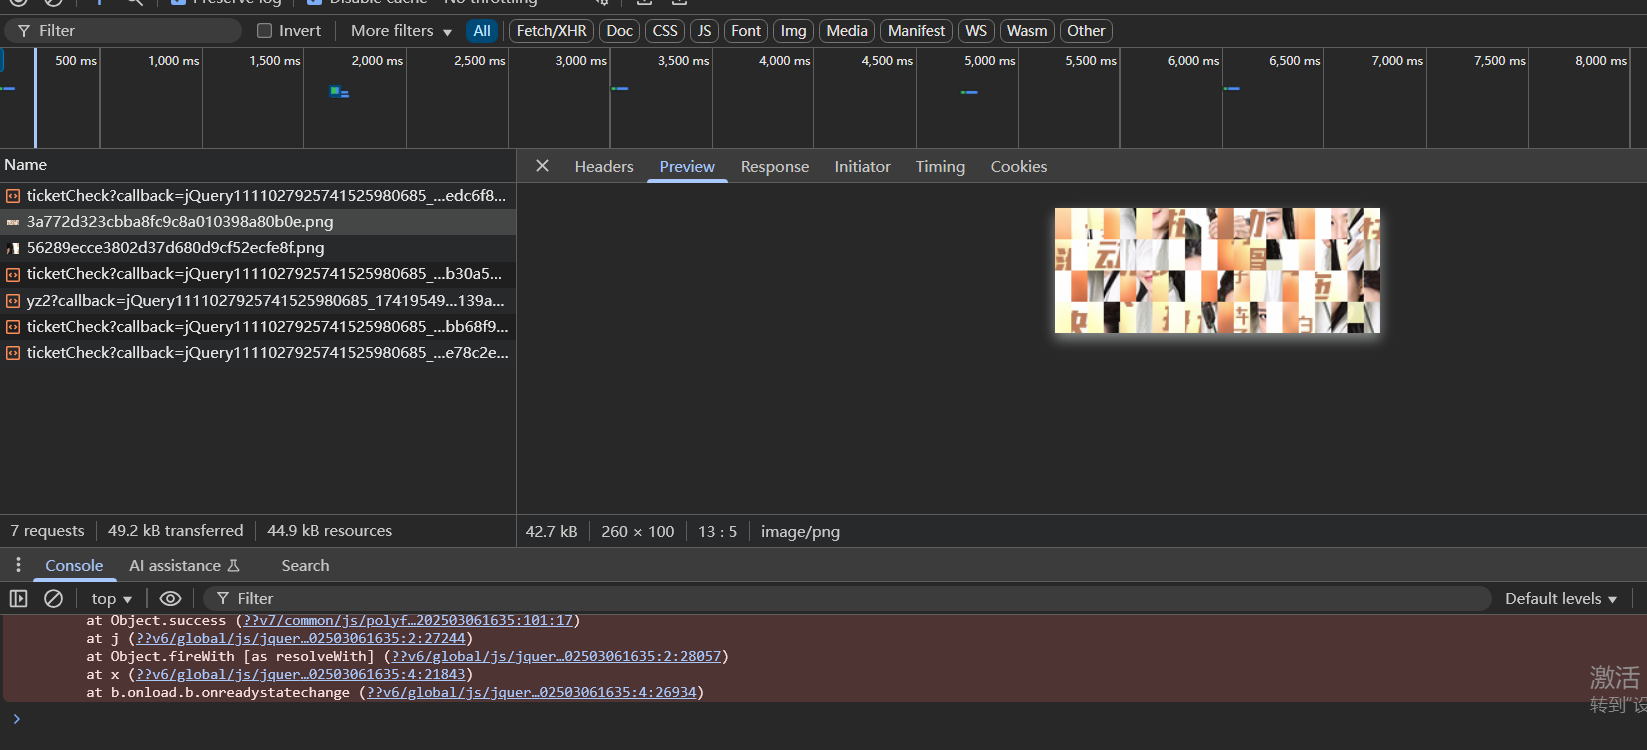
滑块图片的获取
对于51滑块,可以看数据包,可以看到是请求https://authcode.51.com/yzm/pic_temp/code/2025031421/big/7e889255742901a86c105809cdf251dc.png这个url来获取图片的
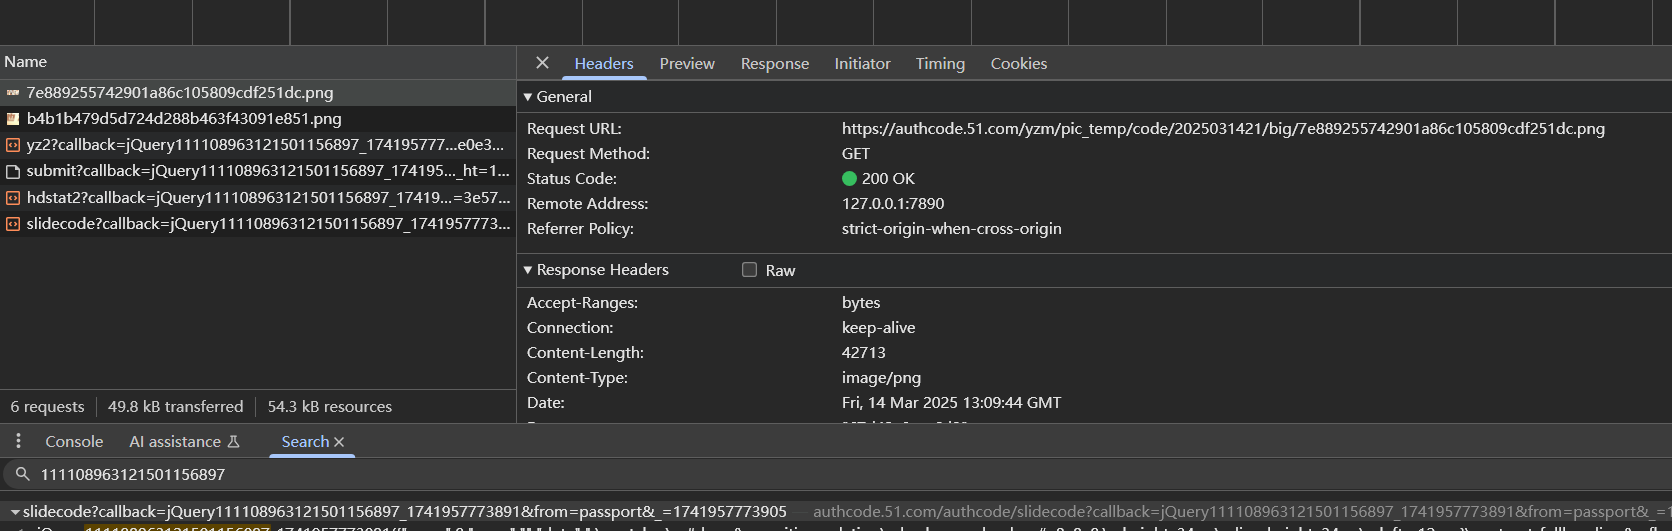
这个url怎么来的呢?继续看前面的数据包,全局搜索png的文件名也行,可以看到这个url实际上是请求https://authcode.51.com/authcode/slidecode?callback=jQuery111108963121501156897_1741957773891&from=passport&_=1741957773910这个url来的
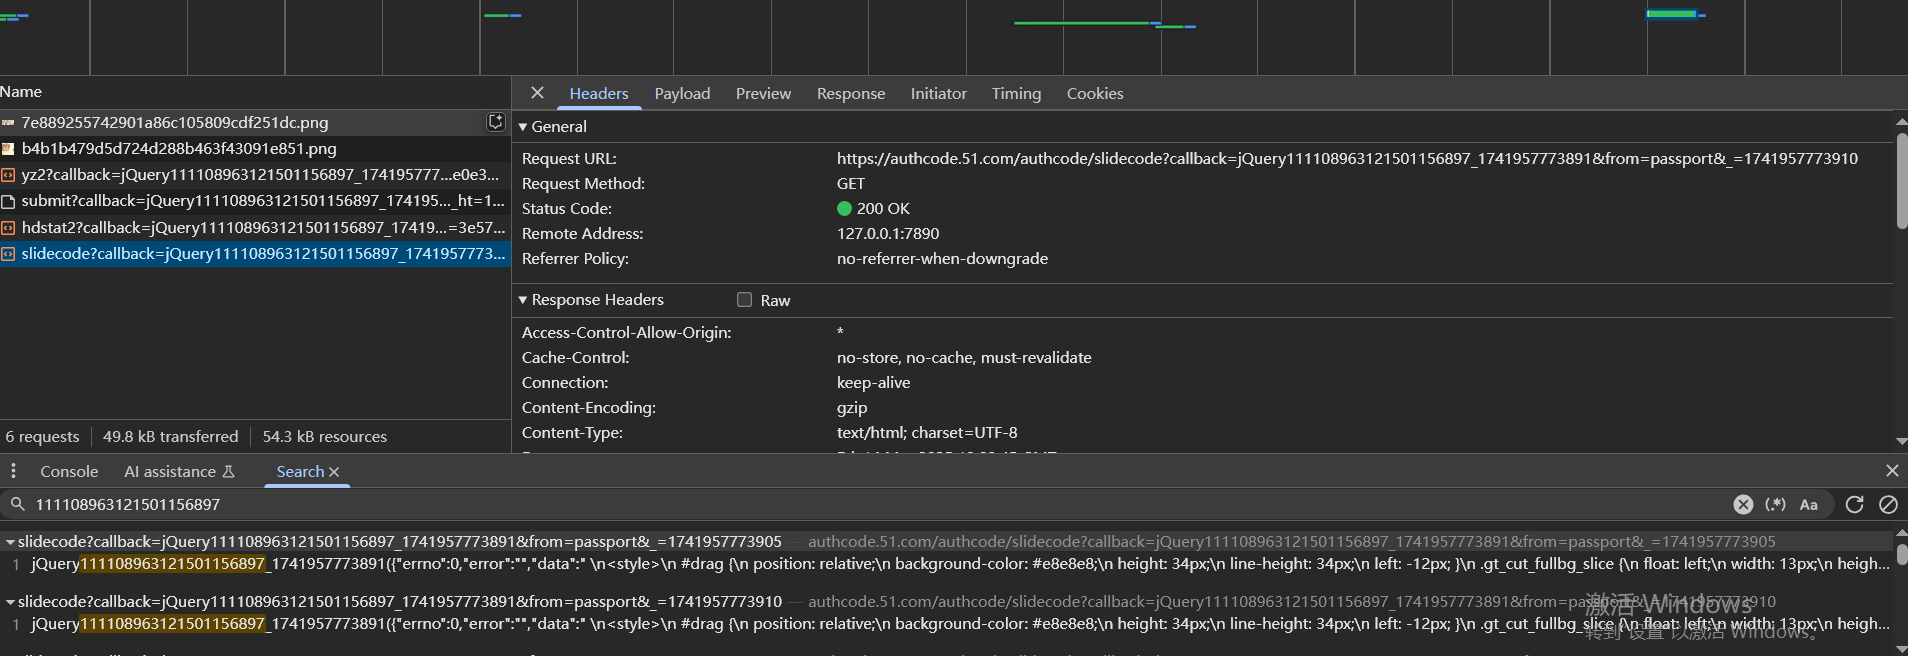
然后去尝试这些参数是不是都需要,最后发现浏览器直接访问https://authcode.51.com/authcode/slidecode也可以获取到图片url,url在网页源码里,而且每次访问的时候返回的图片url都不一样
1 | #https://www.51.com/ |
滑块图片混淆还原思路
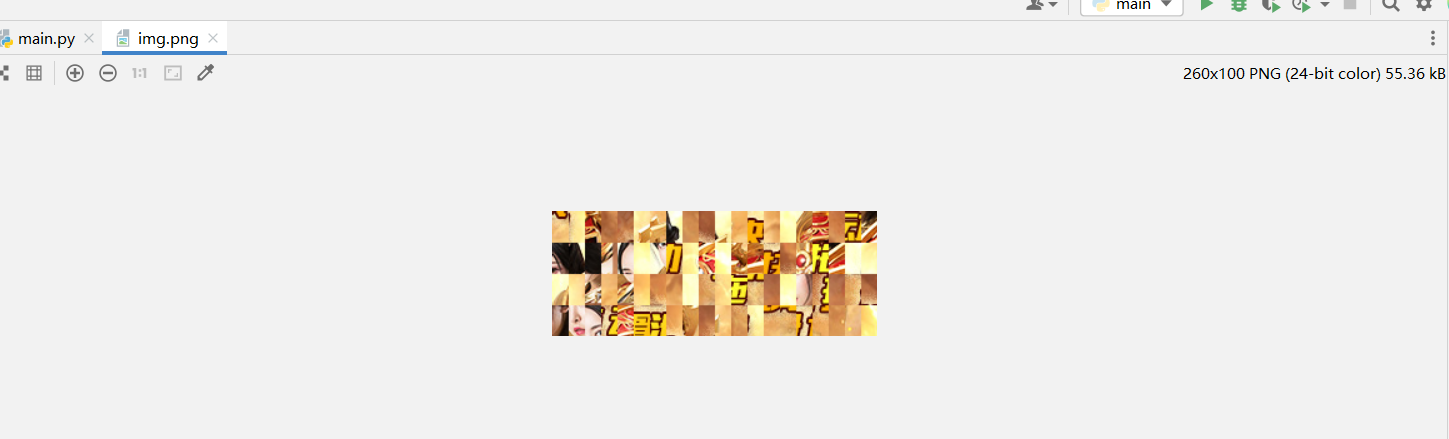
把混淆的图片保存到本地,后续可以通过js或者python进行还原
还原是在哪里?首先肯定不在请求里面,还原逻辑一般在前端js里,也可能在返回的数据包里包含有还原切片的坐标,对于51滑块,就是后者这种情况,可以看下访问图片url的网页的源码,这里面就带有坐标
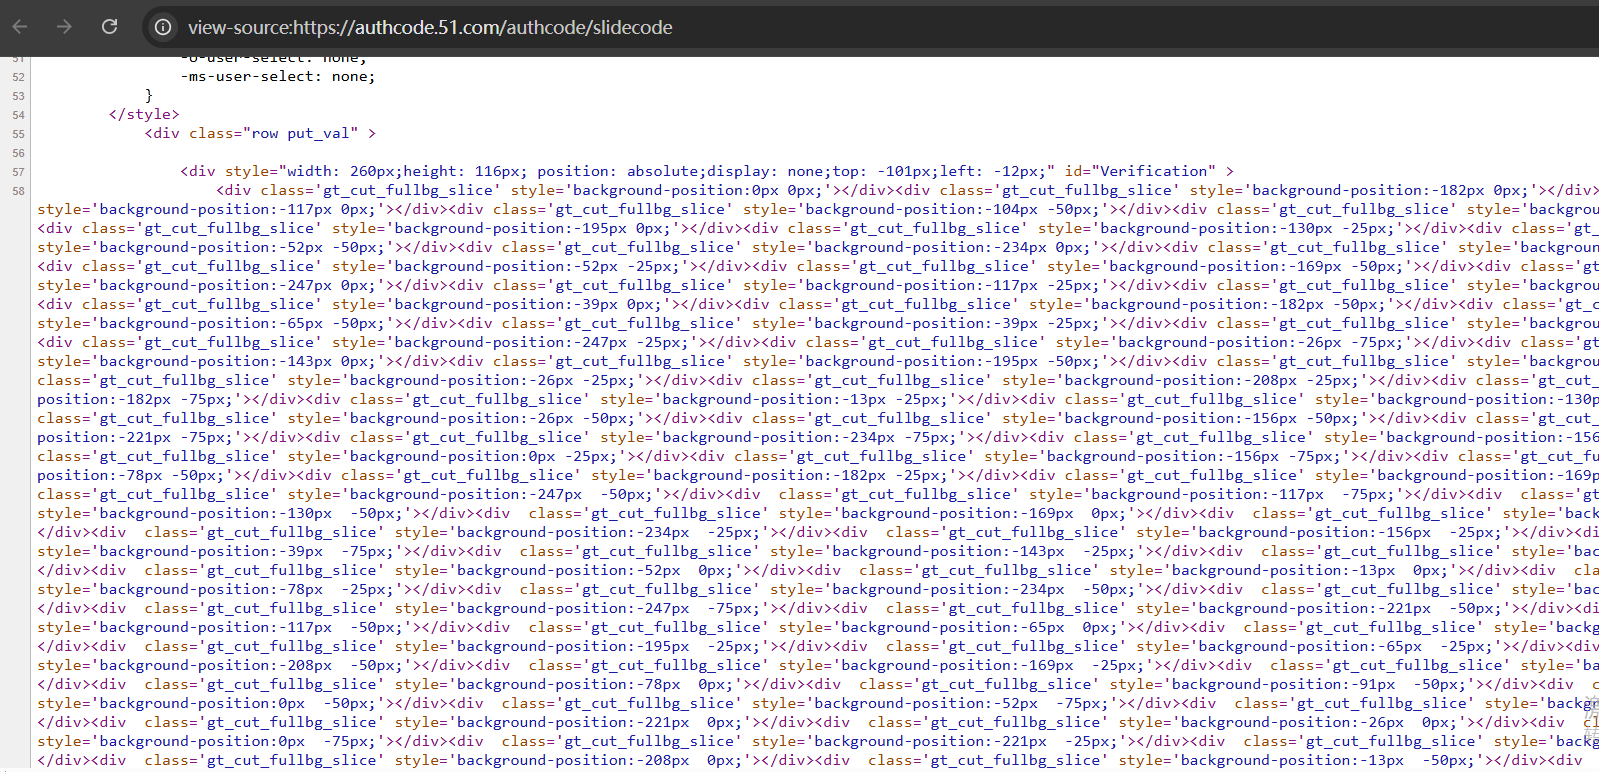
如下是还原之后的完整的图片的元素,可以看到里面也有坐标信息
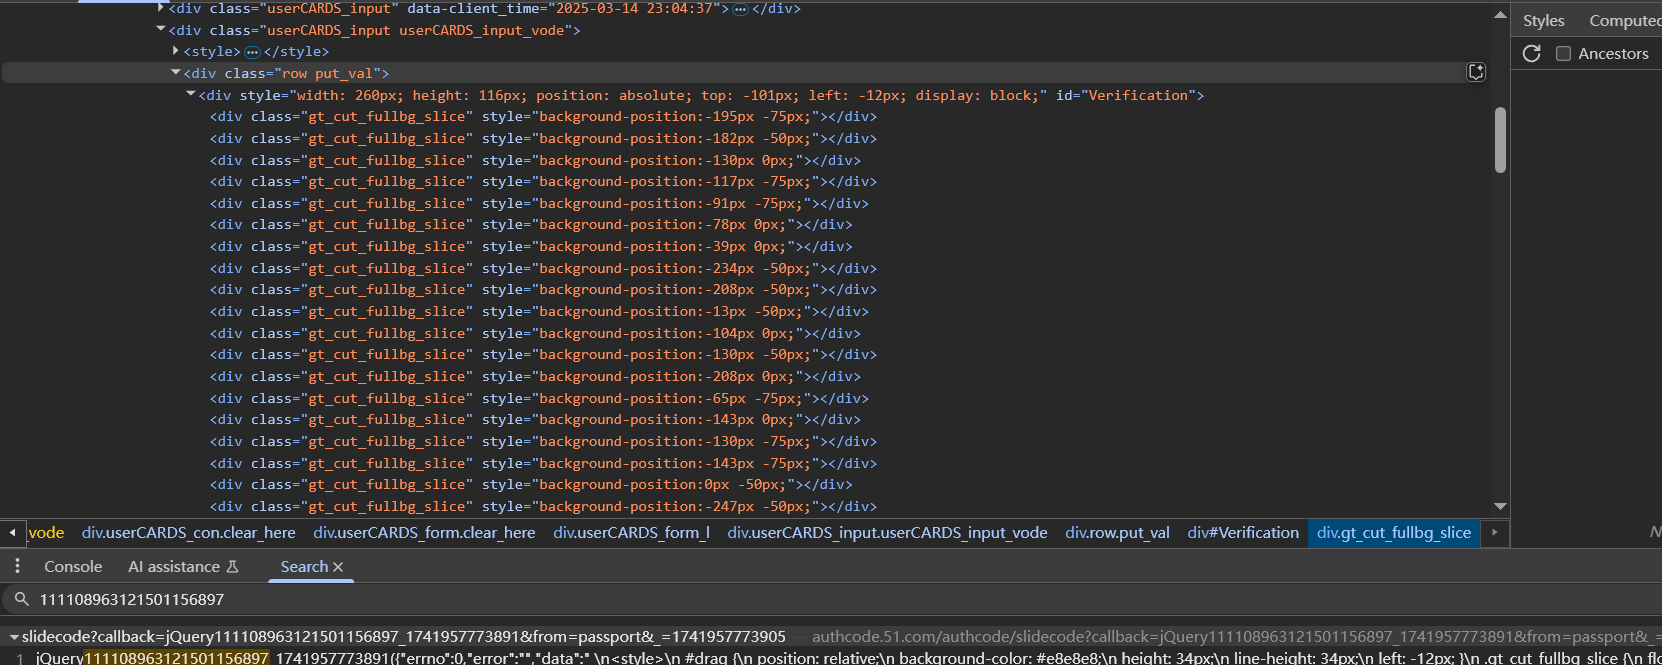
两者的坐标的关系是什么呢?比如这是访问https://authcode.51.com/authcode/slidecode之后返回的切片的坐标
1 | <div class="gt_cut_fullbg_slice" style="background-position:-182px -25px;"></div> |
并且这个div在第一行,代表着正确图片的第一行第一个的切片对应的是未混淆的图片中的-195px -75px位置的切片
注意坐标不需要负号,而且对于切片大小,比如图片是260*100的大小,根据切片个数,很容易算出每个切片的坐标
1 | #https://www.51.com/ |
滑块模拟发包
抓包看滑块滑动的时候的发包请求,如下
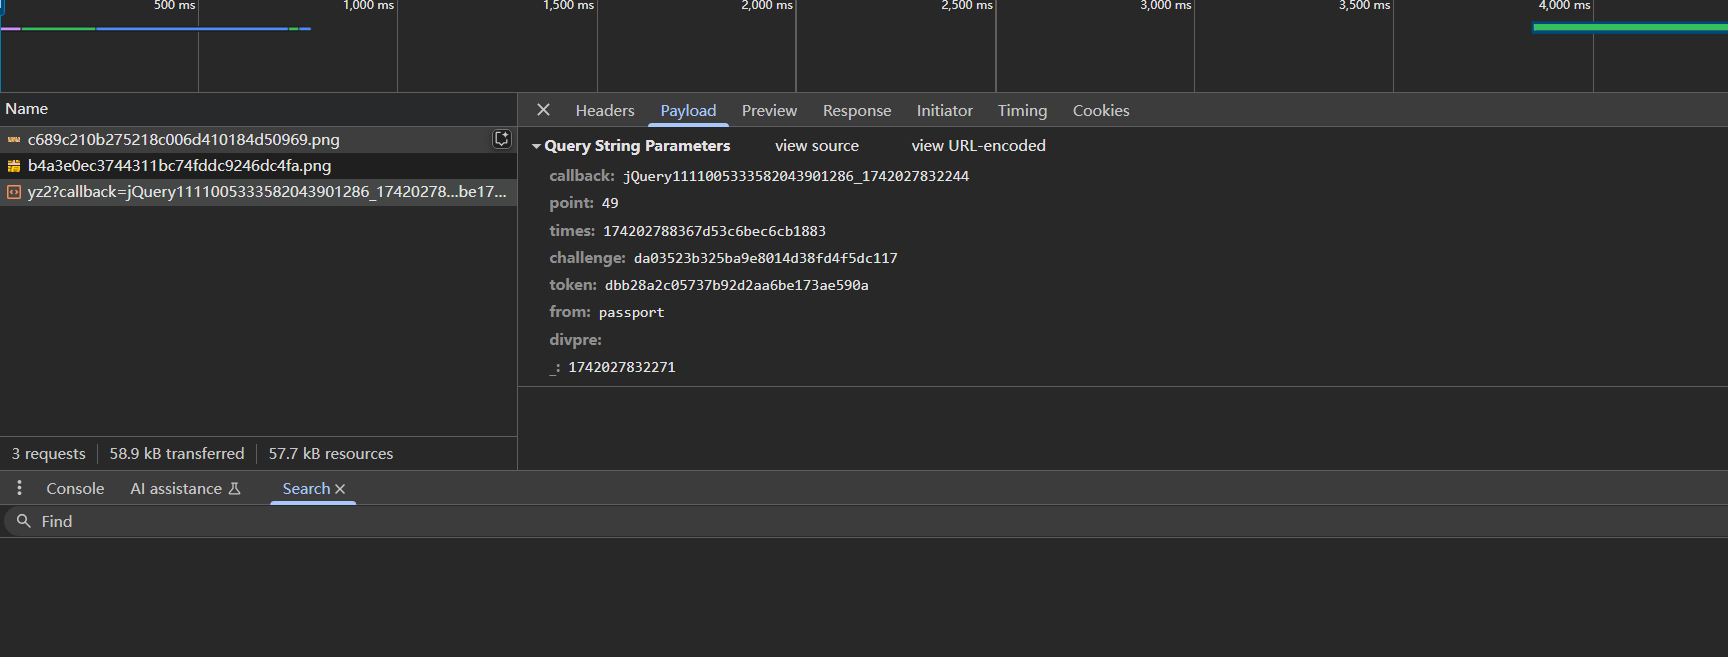
这里callback参数其实可以删掉,主要是points、times、challenge、token四个参数
全局搜索challenge,发现challenge的值是来自https://authcode.51.com/authcode/slidecode的响应的,`times`也一样
还剩下token,token搜到了这里,很像,但是实际上这里不是,因为只有token参数,没有别的参数值,发包的时候不太可能把参数隔得很远去发包的
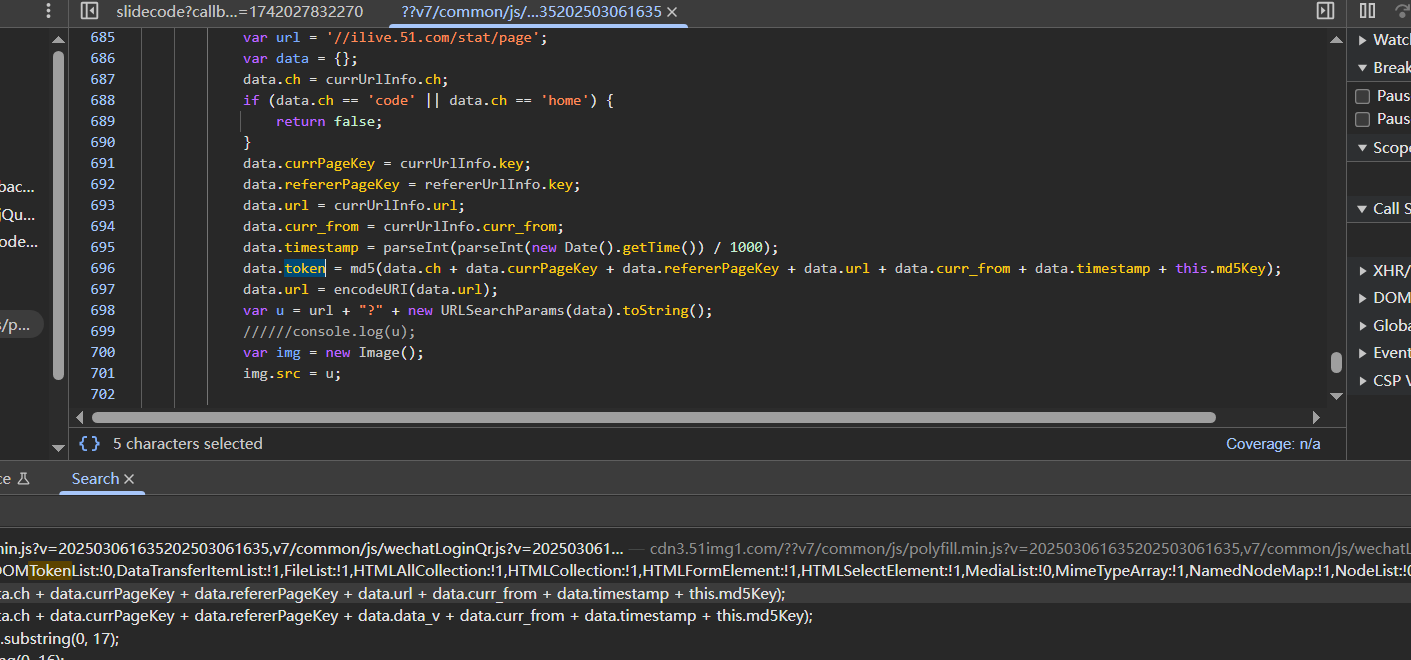
可以继续搜或者找堆栈,最终定位到如下函数
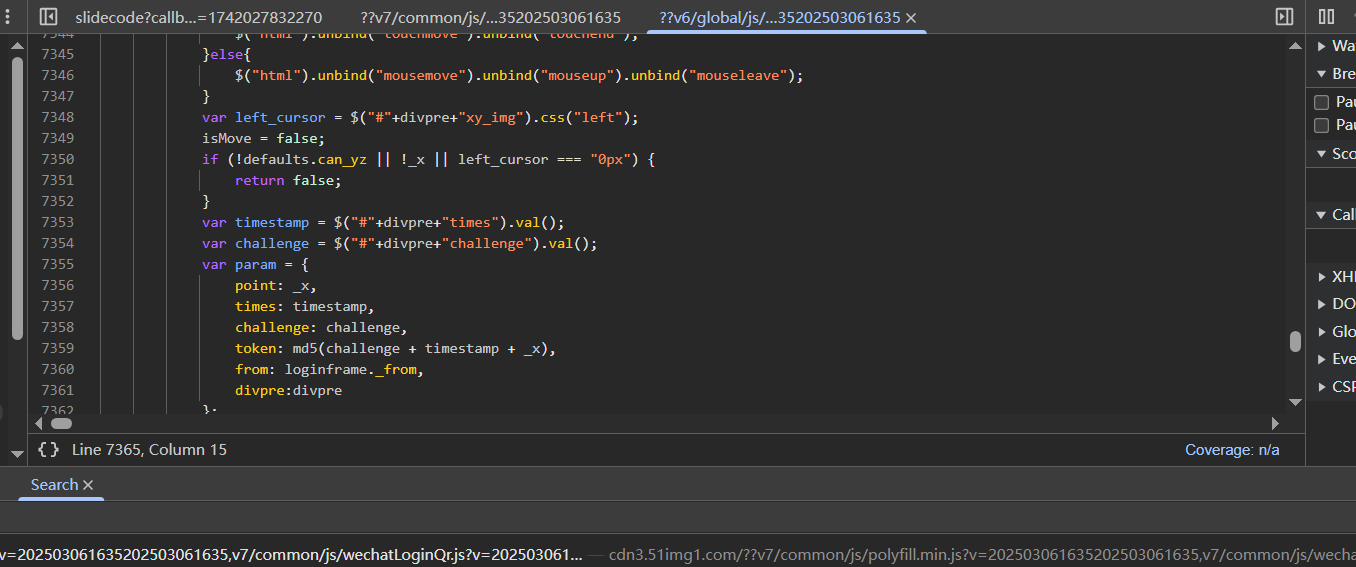
1 | var param = { |
point就是滑动的距离
1 | #https://www.51.com/ |